If it is too complicated please comment and let me know that so I can simplify my wording! Enjoy :)
What you will need:

get in the picture.
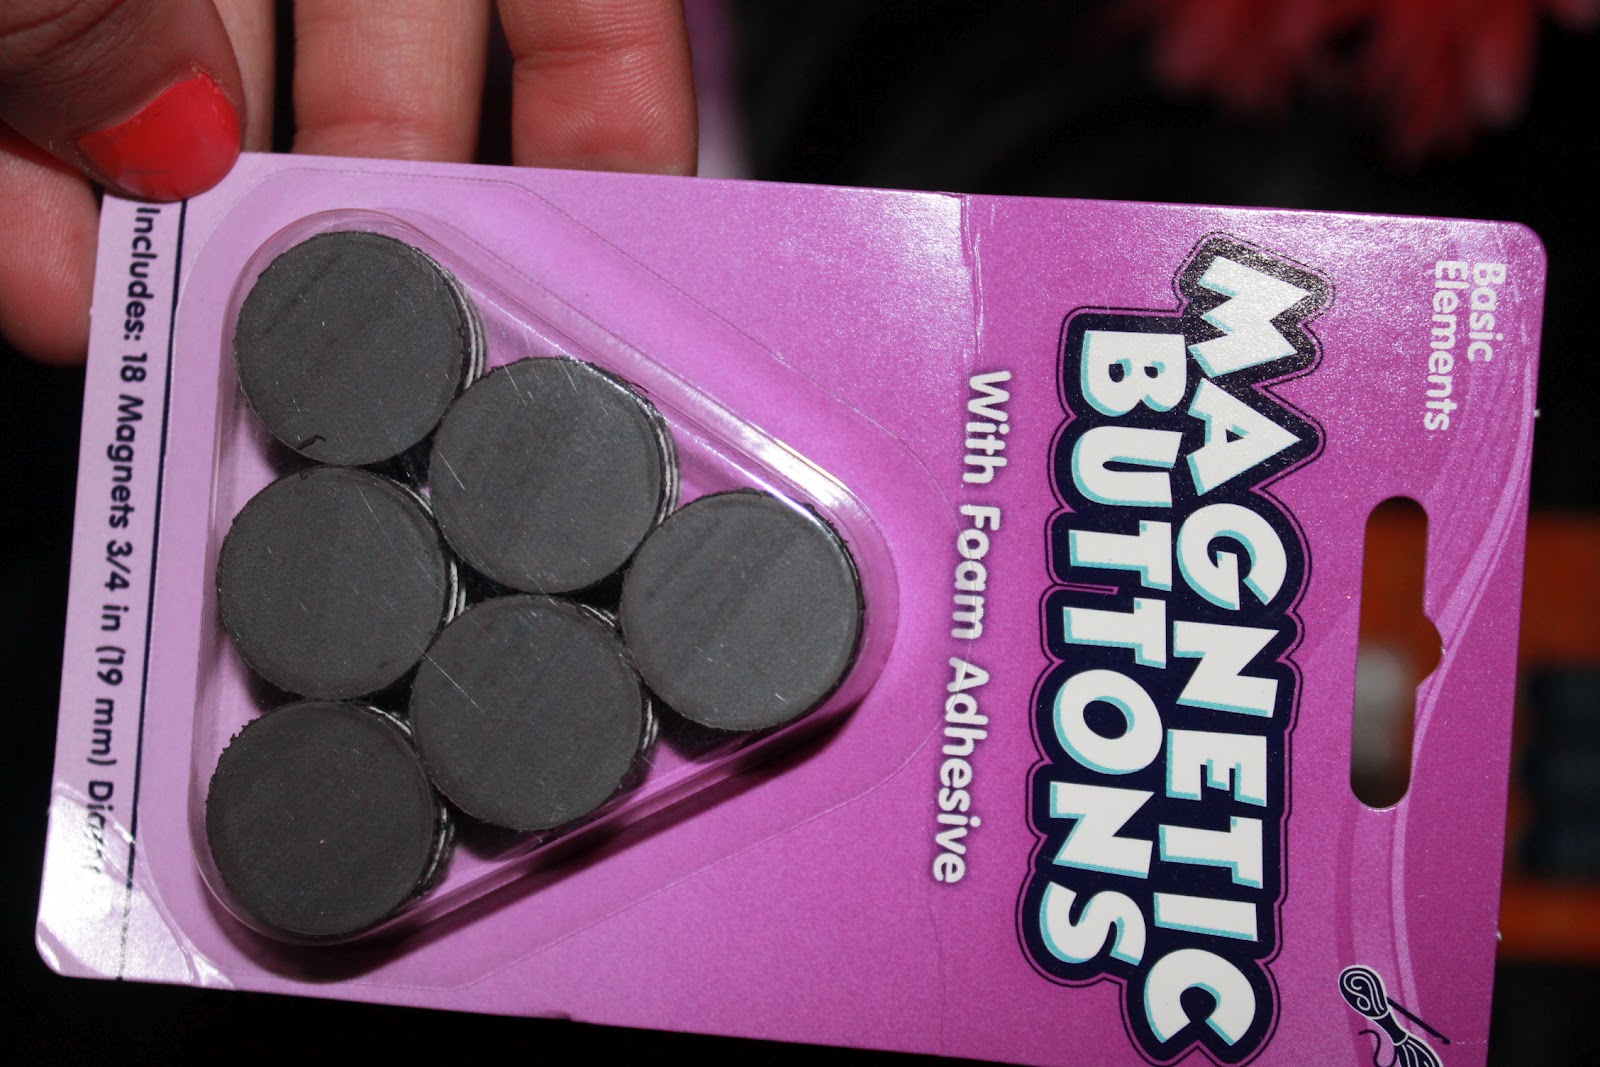
The flowers are cheap dollar tree flowers. I sometimes will splurge and get the really really bright colored daisies from Hobby Lobby with a 40% off coupon! The pebbles are also from Dollar Tree and you need to make sure that you get the wide fat ones (I will post a better picture when it comes to them). Glue that will dry clear. Scissors might be needed. The magnets are from Walmart, some of them can be found at Dollar Tree but the one I wen to didn't so I just grabbed them when I was grocery shopping later that day. Again, don't forget a hot glue gun and sticks.
You can use a template that I will attach as soon as I get it in my email box. I am in a hurry with this batch and the color ink cartridge decided to go capute so I used regular black in and regular paper.
I typed my name and telephone in size 10 comic sans font. I then cut them by hand (more time consuming but I am pretty fast so it works really well!) I also feel that it makes them look "for sure home made" if you know what I mean! :)
So the first step is to put the pebble and paper together. Whether you cut it out like I did for this one, use a template, and etc. You take the paper and put a glue that will dry clear over it. You then put it on the FLAT surface of the pebble. This is the first step so that it can dry while you are working on step two. Also, if you do it the way I did on this one and don't want the space between the white to show, cut a circle of color construction paper and slap it behind there. (see pictures below)


You will then put hot glue on the first pink flower. You apply the hot glue in the center, I will advise you to just put a dot in the middle just bigger than the hole that is in the middle of the flower. You then take the white flower and press its center into the glue of the pink flower. Repeat with the next Pink LAYER (ha like our new LAYERS). Repeat once more if you are using four layers rather than three like me. (See pictures below)


Step four is to take the pebble and apply it to the center of the flower. You put hot glue in the center of the top layer. Then put the pebble on top of that. Press tight for a few seconds. (See pictures below.)


Step five is to apply the magnet. You should take the magnet and apply some hot glue to the adhesive side of the magnet. Then press the flower on to it. You are almost finished at this point. Yay!!! (See pictures below.)


Step six is to put on your fridge or do as I do and put one in every order that you deliver. When you deliver to the hostess say I also put in a FREE flower magnent just to let you know I appreciate your business and so that you can always have my number without looking further than your icebox. :)
(See pictures below.)

Oh! and don't forget to REPEAT!
Thanks for following my silly craft blog. Please comment and let me know how yours turn out! Also, if you make any flowers please snap a picture and send it to laurenlosideas@gmail.com
Thanks,
lauren lo
I have had several bad reviews for the pictures because people do NOT read that I posted "COLOR INK CARTRIDGE was out....so here are the ones I made tonight after replacing the cartridge


Also, While making my latest batch I realized that using modge podge and a brush was much easier than stick glue.
You just brush across the back side of the pebble once, attach paper and it's done. I made 75 tonight. :)
Great idea :)
ReplyDeleteI'm still vary new but when I
get a chance I will let you know how it went.
Thanks
O ya I also found ur blog link on Spring Sprint Facebook page
Thanks for visiting. I am posting my ideas as fast as I can find them and write the step by steps up! :)
DeleteYou are the bomb girlfriend! I have literally been laughing out loud reading your entire blog. Thanks for sharing your amazing ideas. Love ya my friend, keep being you!
ReplyDeleteHa I def have a different take on blogging! I am sure there is a proffesional blogger out there rolling in their grave because I am a disgrace but...it's working so yay!
DeleteThanks for stopping by! See you in VEGAS woman!
I am in love with this blog! You have so many fantastic ideas! I cannot wait to start trying them. I just signed up this month and I was trying to figure out to get more customers. Thank you for this :)
ReplyDeleteThank you! I am so happy that it helps others. :)
DeleteThanks sooooooooooo much for the idea, i was so excited after seeing this. I ran out this morning and got the stuff to make them. Happend to see that at Joann fabrics the 1 inch hole punch was on sale for 5.99 so i ran and bought one, makes cutting even easier, they become a perfect fit!
ReplyDeleteMakes me happy. ;)
ReplyDeletewhat is the cost per flower magnet?
ReplyDeleteMy cost per flower is .04cents. :)
Deleteheaded to the dollar store today.. gonna be my craft for tonight. :)
ReplyDeleteEmail me a picture when you are finished so I can add them to the Followers page!
Deletehow did you get the center info so small without it being blury?
DeleteI use my template! You can email me at laurenlosideas@gmail.com if you would like it!
DeleteI love them good job
ReplyDeletei wander if u could find a round hole puncher to cut these out with oh and the colored pebbles do good also
ReplyDeleteI didn't like the cutter! I have made 500 in two days, cutting by hand.
DeleteHow do you give these to your customers? Do ya wrap them up??
ReplyDeleteEvery order gets one and they are always in my truck so people some time just ask.
DeleteI just started selling Scentsy, and I love this idea! Any chance I can use your template for the scentsy logo that you used?
ReplyDeleteemail laurenlosideas@gmail.com
DeleteI love the flowers. I have emailed you about them. I forgot to ask about the template. I started selling Scentsy in August and went full time with it in January. Having a very slow start, but after reading your blog, it has given me some ideas. Thanks.
ReplyDeletecould I have a copy of the template you used to make the flowers please?
ReplyDeleteJazzyJaye53@yahoo.com
ReplyDelete